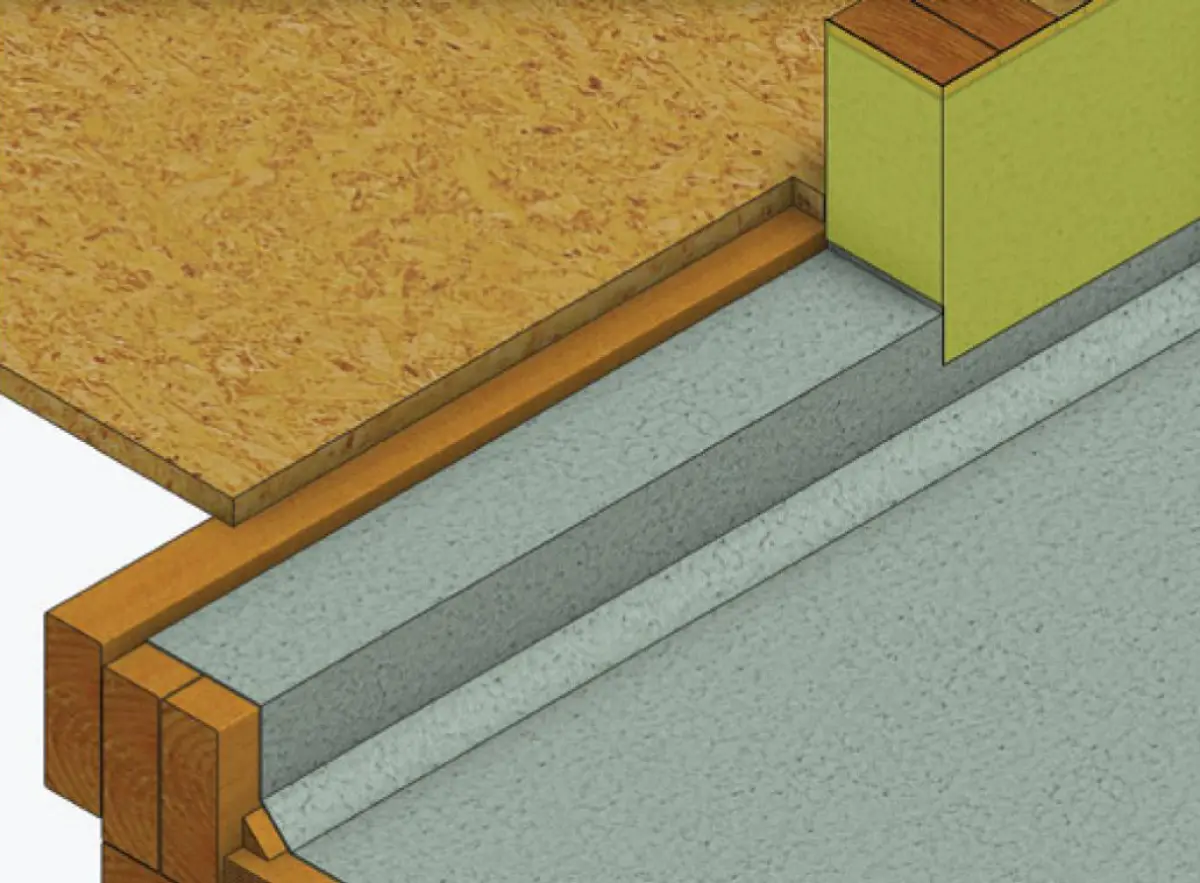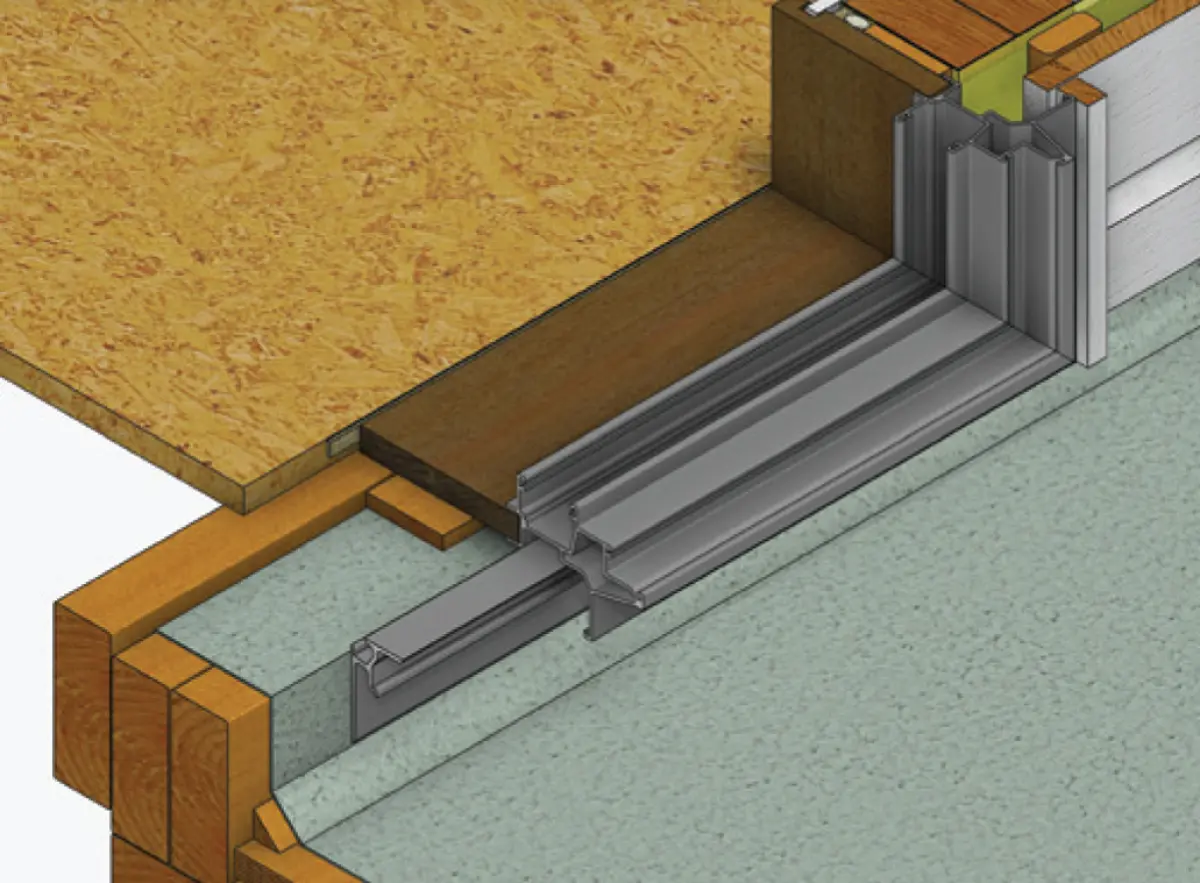


E2/AS1 has some specific requirements that must be met for clearances between a cladding and a waterproof deck. These include:
- a maximum area of 40 m²
- a membrane upturn at the wall junction of at least 150 mm
- slope the membrane away from the wall
- lapping the wall underlay over the membrane upstand
- a clearance of at least 35 mm between the bottom of the cladding and the highest point on the deck surface
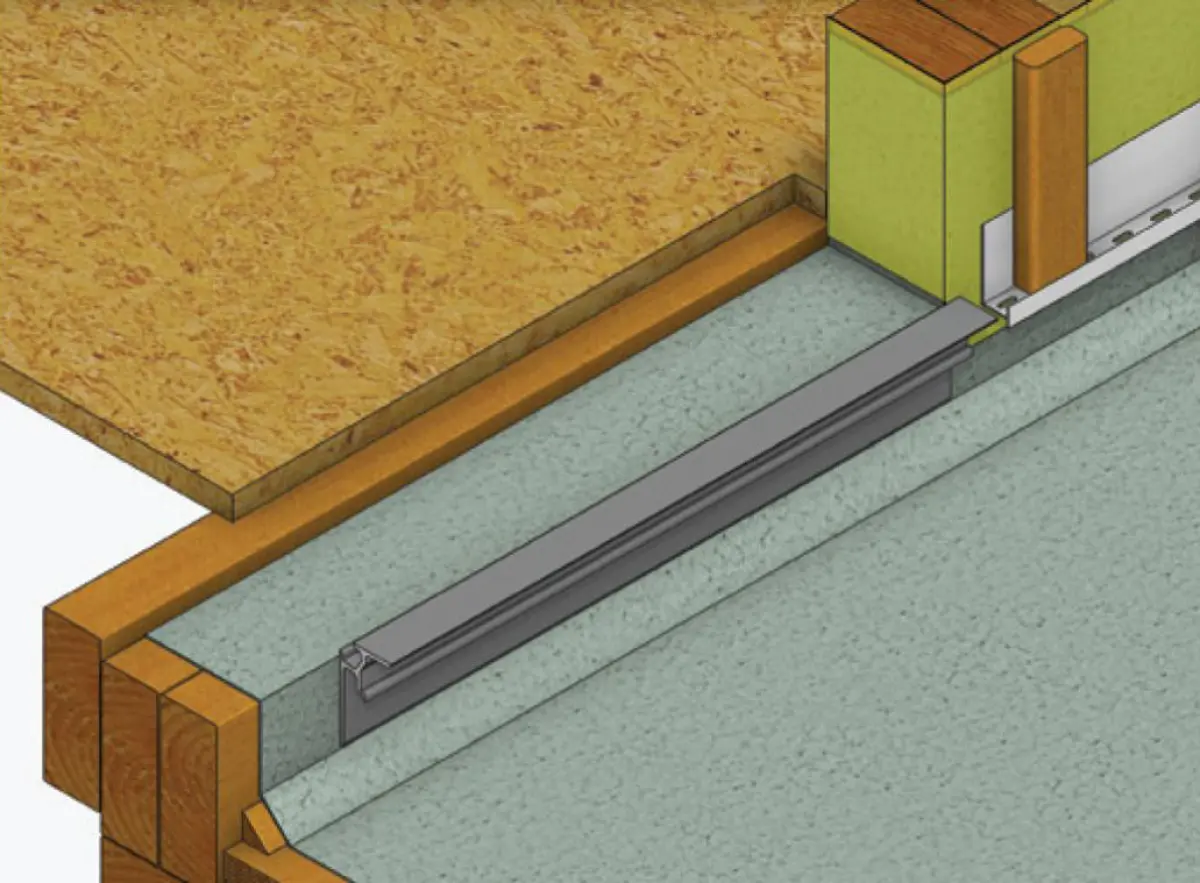
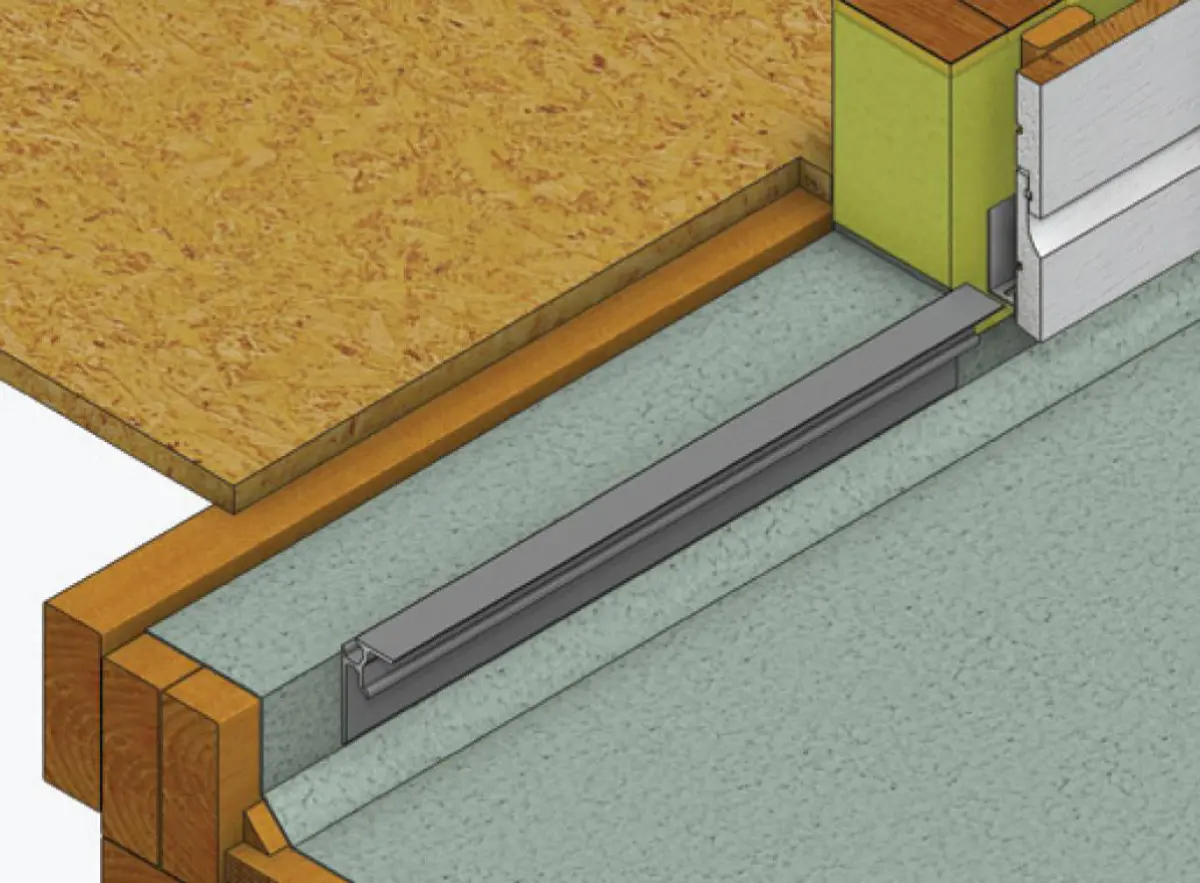
- for claddings installed over a cavity:
- providing drainage from the cavity behind the cladding incorporating a cavity closure
- forming a drip edge (10–15 mm depending on cladding type) along the bottom edge
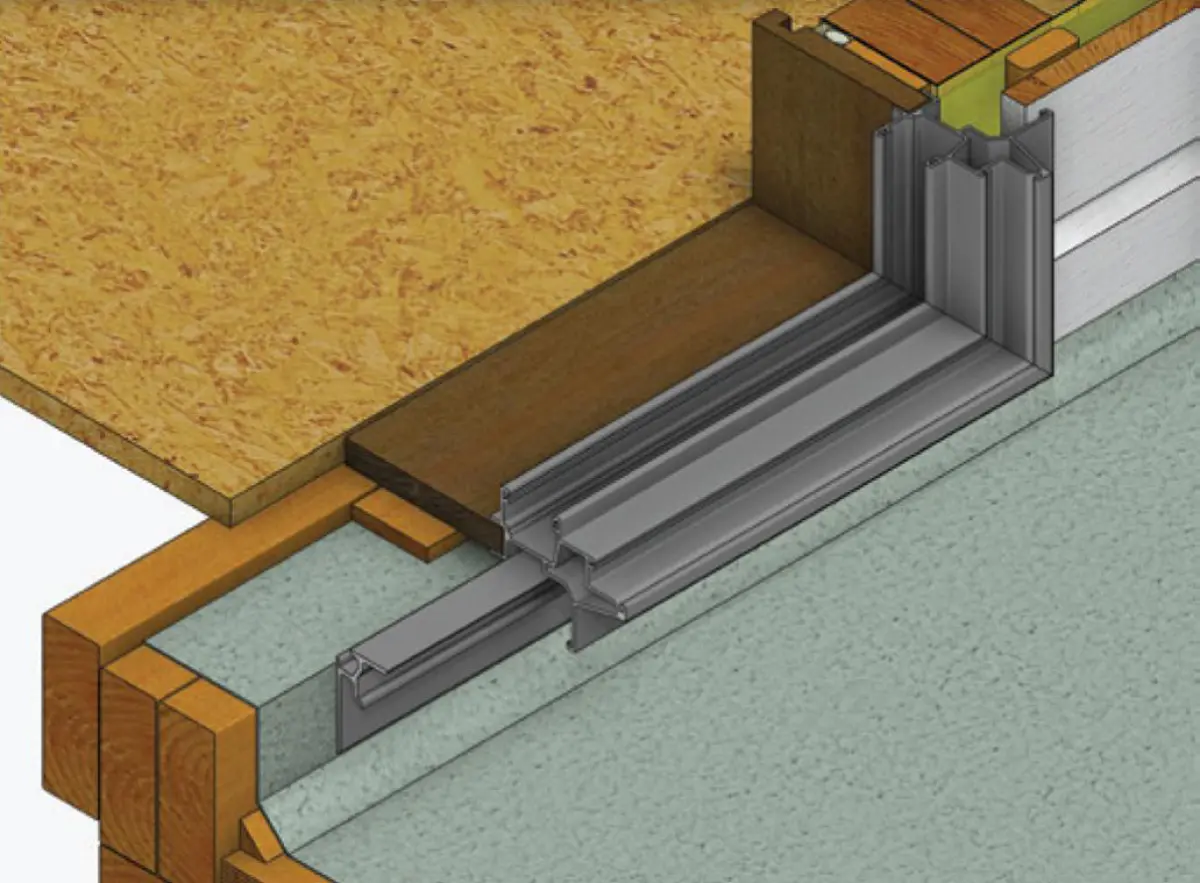
- a step down to the waterproof surface at doorways of 100 mm minimum (an alternative not detailed is for a 100 mm high threshold or step where the floor level and deck substrate are at the same level)
- a minimum deck slope for drainage of 2°
- no finish adhered to the tiles – any additional walk-on or protective surface must be removable
- no downpipes discharging onto the deck.
In addition, it is considered good design of waterproof decks to:
- have a minimum of two drainage outlets, each with their own overflow
- specify flood testing on completion
- protect the membrane after it is laid.