

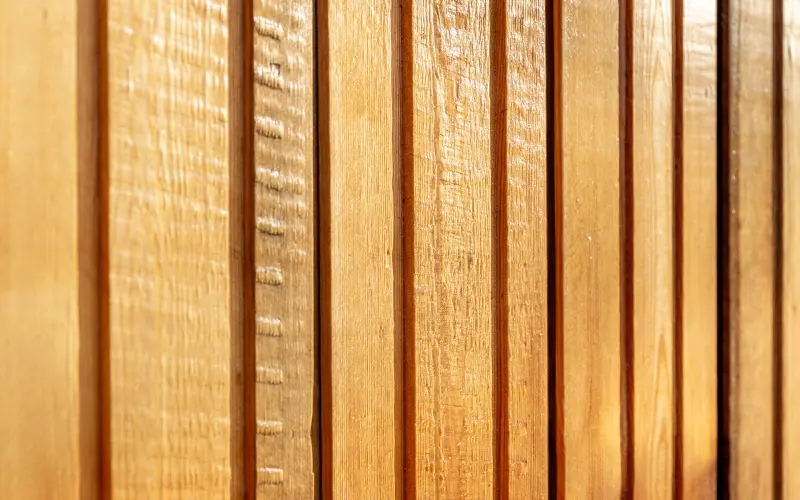


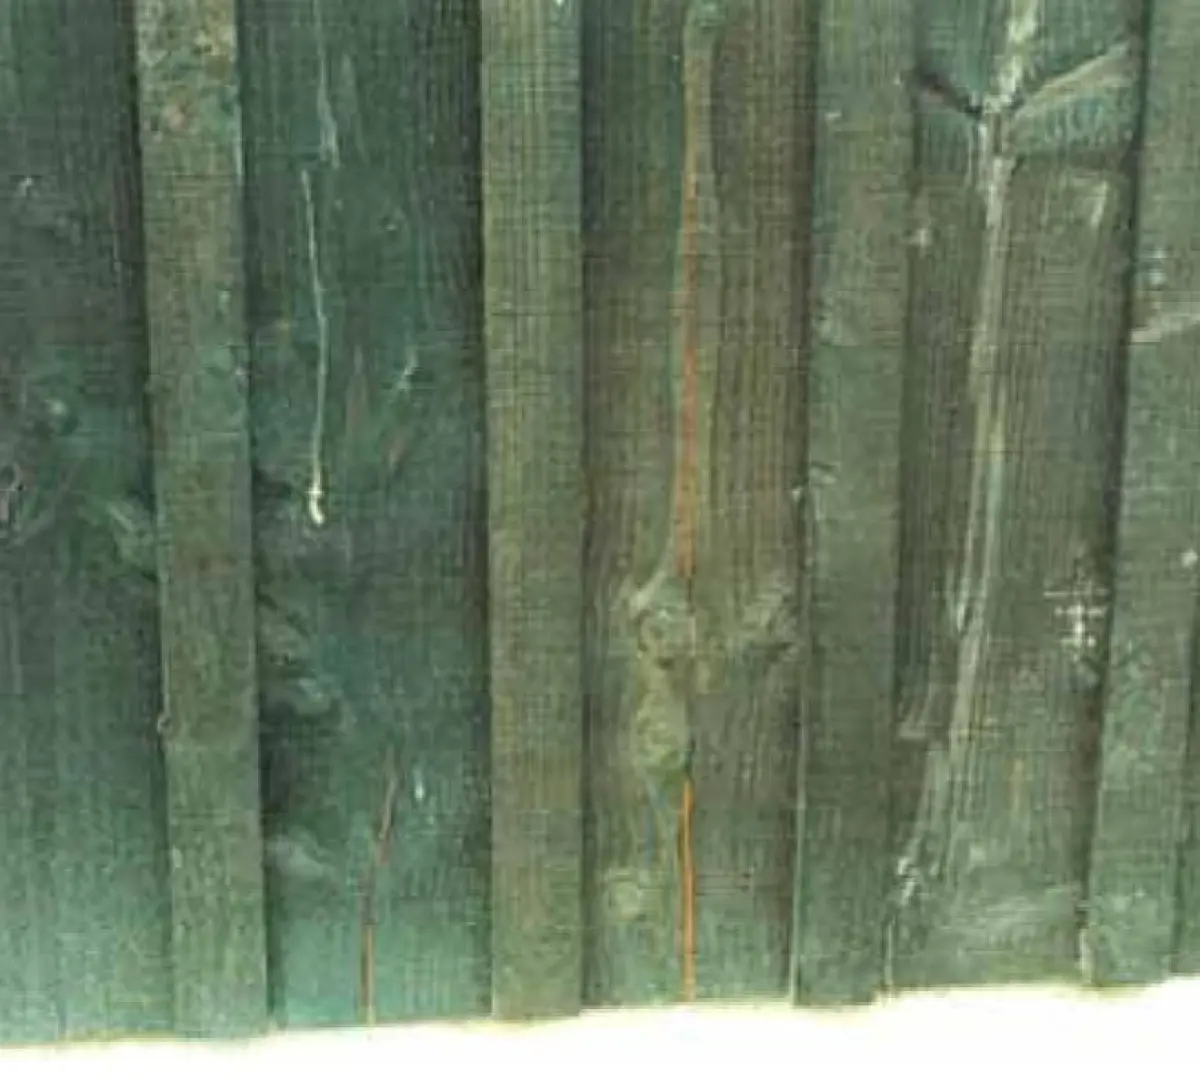
Popular on both sides of the Pacific, vertical board and batten obviously appeals as a practical cladding for homeowners. The 12”-wide boards in native timbers are no longer available in New Zealand, but H3.2-treated radiata pine boards are a good substitute for those durable natives and they can be left to weather naturally to a silver-grey, or painted. When painted, a light colour should be chosen to prevent over-heating and splitting or crazing as shown in Figure 1. There seems to be a preference for roughsawn boards, whether painted or not, to provide some texture to the face of the board. Rough-sawn boards, often with a band-sawn face, provide a more stable board because they are thicker. But they tend to provide less weathertightness because they do not seal as well against the battens and are more difficult to paint.
Weathergrooves needed
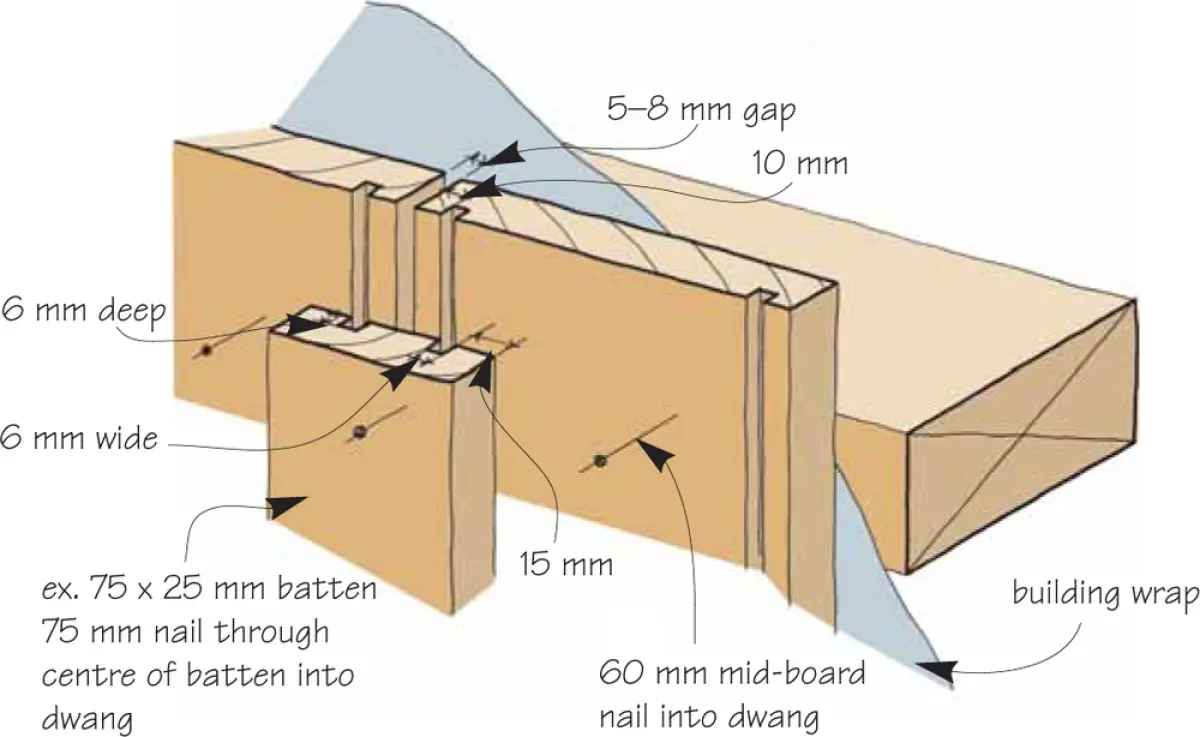
Battens and boards should both have weathergrooves machined in them. The size and position of these grooves is critical if they are to help keep water out of the joint. Weathergroove size depends on material finish (such as rough sawn or dressed). They will be 2 opposing @ 9 mm x 9 mm, 6 mm x 6 mm or 4 mm x 4 mm. See BRANZ bulletin BU411 Table 1.
Joints
It is preferable to use board and batten only on single-storey construction and in single lengths. Joining boards with a bevel cut is not satisfactory as the differential shrinkage or cupping of boards opens the joint and exposes the cut end. Where joints are required, for example on a gable end, use a flashing as shown in E2/AS1 Table 4.5.1.1 and Figure 9.1.8.4. The tops, or cut ends, should always be covered.
Fixing
Vertical timber board and batten cladding can be direct fixed to framing up to an E2/AS1 risk score of 12 (see Table 3.1.3.2 in the Acceptable Solution). Where the risk score exceeds 12, a drained and ventilated cavity system can be used as an alternative solution, or a different cladding should be considered.
Take care to ensure the weathergrooves line up before fixing in place (see Figure 2). Boards should be fixed at each dwang, at the centre with a single 60 mm galvanised nail, or with a spiral- or grooved-shank stainless steel or silicon bronze nail for ACQ or CuAz treatments. A longer nail is required for fixing through rigid sheathing. Dwangs are required at not more than 480 mm centres.
Windows
For details for windows and doors for direct fixed vertical board and batten weatherboards, refer to Acceptable Solution E2/AS1 Figure 9.4.6.1D. You could contact window manufacturers – some have CodeMark certification.