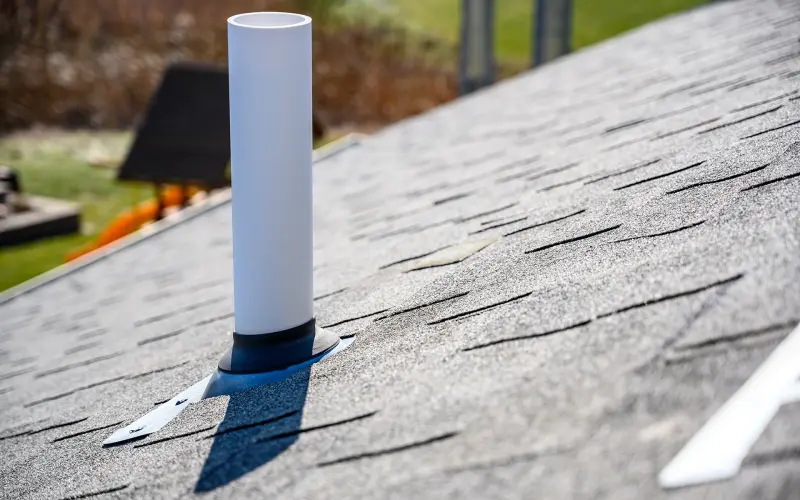


For profiled metal roofing, E2/AS1 permits use of boot flashings where:
- the maximum roof pitch is 45°
- the minimum pitch is 10° if the base of the flange covers one or more complete troughs
- the pipe diameter is no more than 85 mm
- they are installed on the diagonal so water will flow around the flashing.
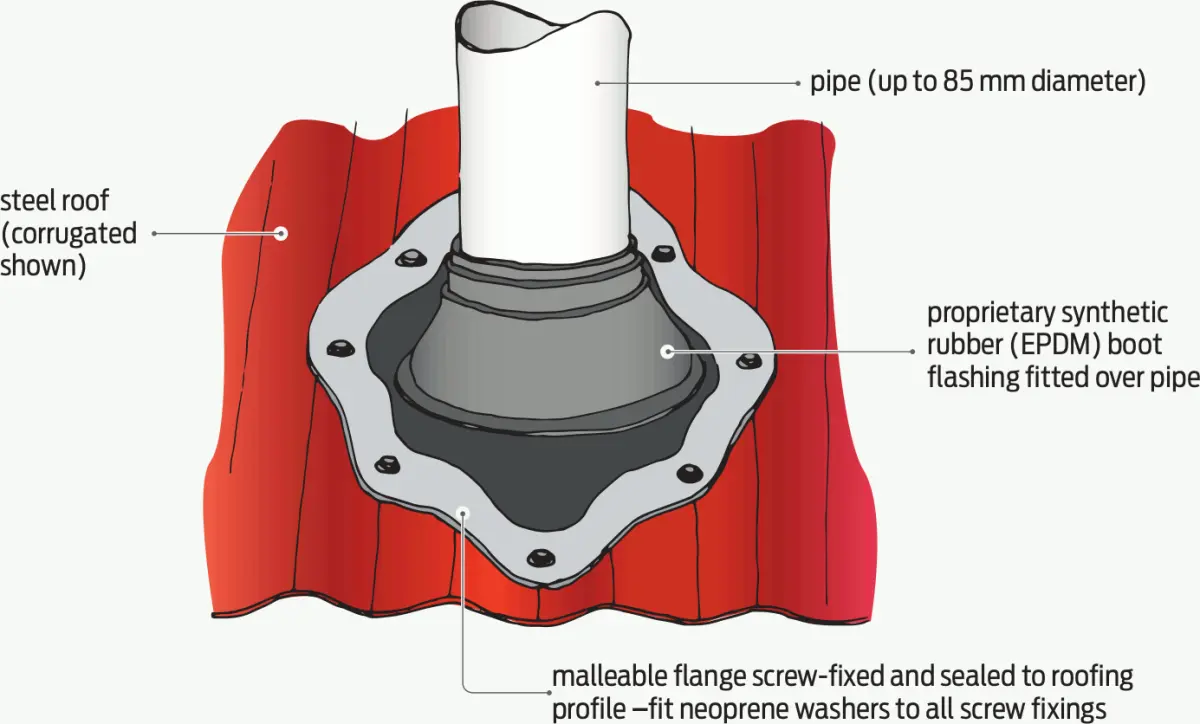
The boot flashings must be dressed, sealed and fixed to the roof profile (see Figure 1).
For larger penetrations, flashing is using:
- a soaker flashing with an EPDM boot flashing for penetrations up to 500 mm – E2/AS1 Figure 8.4.12.3B
- a soaker type flashing (for penetrations up to 1200 mm) – E2/AS1 Figure 8.4.12.3C.
For masonry tiles, a pipe penetration may be flashed using:
- an EPDM boot flashing fitted to an integral malleable soaker flashing dressed to the tile profile, or
- a lead sleeve taken 100 mm up the pipe and soldered to a lead flashing that is dressed to the roof tile profile 150 mm all around and carried up to the top edge of the tile – E2/AS1 Figure 8.2.5.1G.
For larger framed penetrations, refer to E2/AS1 Figure 8.2.5.1I or use a proprietary boot flashing designed for flues. These are outside that scope of E2/AS1 and must be submitted for consent with supporting information as an alternative method.
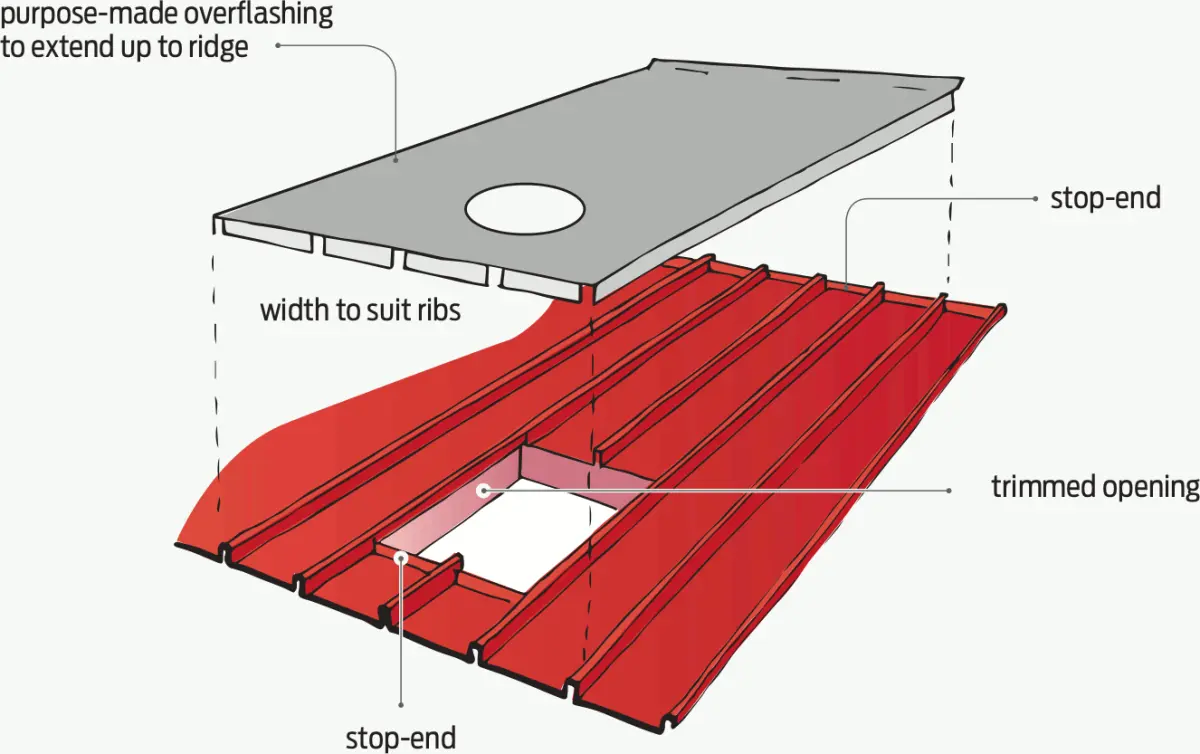
A preferable option is to carry the soaker flashing up the roof to a ridge flashing (see Figure 2) rather than the details shown in E2/AS1 Figures 8.4.12.3B and 8.4.12.3c. The NZ Metal Roof and Wall Cladding Code of Practice recommends a maximum length for a soaker flashing of 1.5 m to a ridge.