

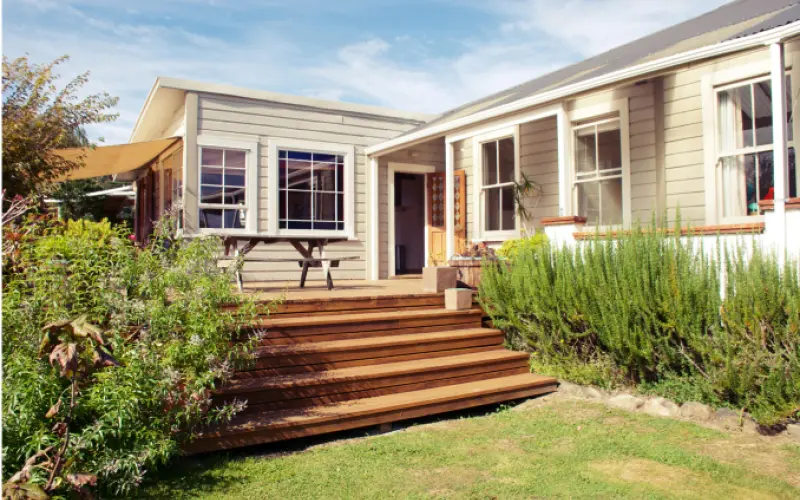


Until the 1970s, timber was the primary material used for window frames and sashes. Window styles vary, and different styles are generally indicative of the age of the house. Double-hung, vertical, sash-sliding windows were common up until the early 1920s, while casement (side-hinged) windows, often with fanlights above, were common features of the 1920s and 1930s.
Multi-paned fixed-sash and opening casements were used during the 1940s and 1950s, and awning windows that open outwards from the bottom and are held open by friction stays were typical of houses built in the 1960s and 1970s.
Advantages and disadvantages
Timber windows have a number of advantages. Besides being aesthetically pleasing, timber has excellent thermal performance and durability and can be repaired. They can also be retrofitted relatively easily with insulating glass units (IGUs).
On the other hand, timber windows are expensive compared to other materials and require regular maintenance – particularly painting.
Construction
Over the years, the construction of timber windows has changed very little. Windows consist of a frame installed into the wall
framing and one or more sashes that are fitted into the frame and hold the glass. Sashes may be fixed or opening.
Frames comprise a head, sill and jambs and may be divided horizontally by transoms and vertically by mullions.
Sashes consist of vertical stiles and horizontal top and bottom rails. A mortise and tenon joint – a tenon or tongue in the rail is pinned and glued into a slot in the stile – is the principal stile-to-rail joint for timber sashes.
Timber for windows
Aotearoa New Zealand native softwood timbers were originally used to make windows. Typically, rimu was used for frames, mataī for sills, and tōtara and kauri for sashes.
As the native timbers became more scarce, timbers such as Californian redwood, western red cedar, radiata pine, cypress species such as macrocarpa, Mexican cypress and Lawson’s cypress, and kwila were used. Combinations of timbers were often used such as western red cedar, which is very stable, for sashes and radiata pine for frames and sills.
Common problems
A disadvantage of timber windows is that they require regular maintenance. Common problems include:
- paint deterioration caused by UV exposure, timber movement or moisture in the timber
- rot typically at the joints of sashes, sill and frames
- joints in sashes opening up due to frame movement
- loose or missing putty due to shrinkage and paint failure
- sashes sticking or not opening due to being painted shut, frame distortion, loose or corroded hardware, broken cords or rusted pulleys
- rust staining from fixings or hinges
- loose or corroded hardware such as catches, locks, hinges and friction stays.
Repairing timber windows
Inspect windows annually for signs of deterioration or potential failure. If they are damaged or show signs of severe deterioration, they must be repaired or replaced.
Factors to consider regarding repair or replacement include:
- type and degree of damage the window has sustained – for example, the paint has deteriorated but the timber is sound or only the sashes have rotted or the window frame also has rot
- degree of difficulty of a repair – whether the window is easily accessed or a joiner is required to carry out repairs
- cost – if extensive work is required, replacement may be a more cost-effective option than repairing a window.
Repainting
Timber windows require repainting approximately every 6–10 years. If the existing paint coat is sound, the window only requires washing with water, sugar soap or mild detergent to remove dirt, followed by a light sanding to provide a key for the new paint, then repainting.
Evidence of paint deterioration includes chalking, flaking, peeling or bubbling of the paint finish. Chalking is indicated by a dull finish and a chalky residue that will rub off. Where there is chalking, the paint should be given a light sanding, washed to remove the chalkiness and sanding dust, then repainted.
Loose, flaking and bubbling paint must be removed by scraping and sanding, taking care to avoid damaging the timber, glass or putty. If paint is in very poor condition, has built up in a thick layer to obscure mouldings, or affects the smooth running of the sashes, the paint should be removed completely to expose the bare timber. Bare timber must be primed before top coats are applied.
Rot in timber
Any rot found in window timber must be removed. Depending on the degree of rot, options for removal and reparation include:
- cutting out the section of rot from the sash or sill and filling the hole with an exterior-grade timber filler
- replacing the section of timber containing the rot with new timber such as partial or full replacement of the sill, jamb or stile
- where the sashes only have rot, repairing or replacing sashes while retaining the window frames
- full replacement of the window.
Joints in sashes opening up
Joints in sashes open up due to excessive thermal expansion and contraction of timber – particularly with dark-coloured finishes. Open joints in sashes will admit water and cause the timber to rot, so the joints must be closed and sealed.
If the opening in the joint is not large it may be filled with a timber filler and repainted, but if it is more serious, the sash may need to be rebuilt.
Loose or missing putty
Putty is essential for sealing around the glass, but over time, putty tends to harden and crack and pieces begin to fall out. When in this state, the putty must be removed and replaced.
After chiselling out loose and cracked putty, sand the timber and remaining putty. Any putty that cannot easily be removed can be left in place. Prime the bare timber before applying fresh putty.
Glazing points hold panes of glass in place. Before applying new putty, ensure that there are enough glazing points. At least one glazing point per side of glass is required, but any side of glass more than 300 mm long should have an additional glazing point for each 200 mm of length.
Once putty is applied, it must be left to cure and form a skin before being painted over or the paint will wrinkle. Traditional linseed oil-based putty requires at least 2 weeks to cure before it can be painted over, but some manufacturers recommend up to 6 weeks depending on temperature and humidity. Synthetic putty can often be painted within 24 hours of application.
In all cases, check the manufacturer’s instructions for putty curing times.
Once cured, prime and paint the putty with at least two coats of enamel paint. Apply the paint 1–2 mm onto the glass to ensure a seal is created between putty and glass.
Sticking or jammed sashes
If a window is sticking or jammed, the cause must first be determined. These are some common causes and remedies:
- Sash has been painted shut – run a blade between the sash and the frame to cut the paint. Gently tap around the sash to free it.
- Hinges or friction stays have seized – open the sash by force if necessary, clean and lubricate or replace if required.
- Sash has twisted or swelled – the cause must be identified – paint failure, rot in the sash, joints opening up or settlement of the building – and addressed.
- Settlement has caused jamming – the windows may be able to be removed and planned to provide sufficient clearance and allow free opening. However, relevelling of the building may be required.
Rust staining from fixings or hinges
Rust staining is caused by fixings that are exposed or inadequately punched in or because moisture ingress into the timber has resulted in joints opening up.
Loose and stained paint should be scraped off and the area sanded to expose shiny metal. Prime and repaint with at least two coats of semi-gloss or high-gloss enamel paint.
Loose or corroded hardware
Hardware becomes loose usually because screws have pulled loose or come out altogether. Corrosion is likely the cause of seized hardware.
Where screws are loose or have come out, the holes may have become too large to refit the screws. Longer screws of the same gauge may be able to be used or the existing holes can be drilled out, timber dowels inserted and glued in place, and the screws refixed. Corroded hardware may be able to be restored with a fine sand and polish, but if the
corrosion is severe, the appearance is unacceptable or the hardware no longer works effectively, it should be replaced.
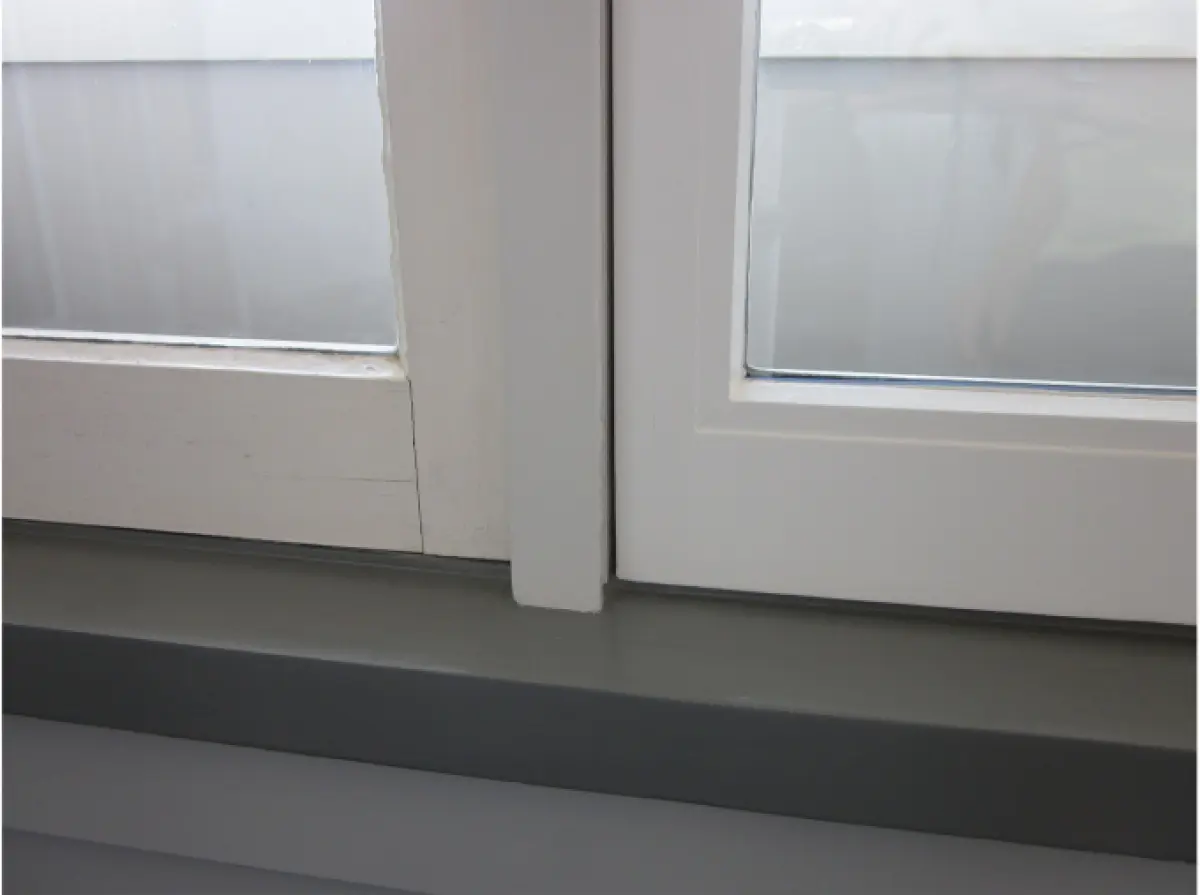
IGUs in existing single-glazed sashes
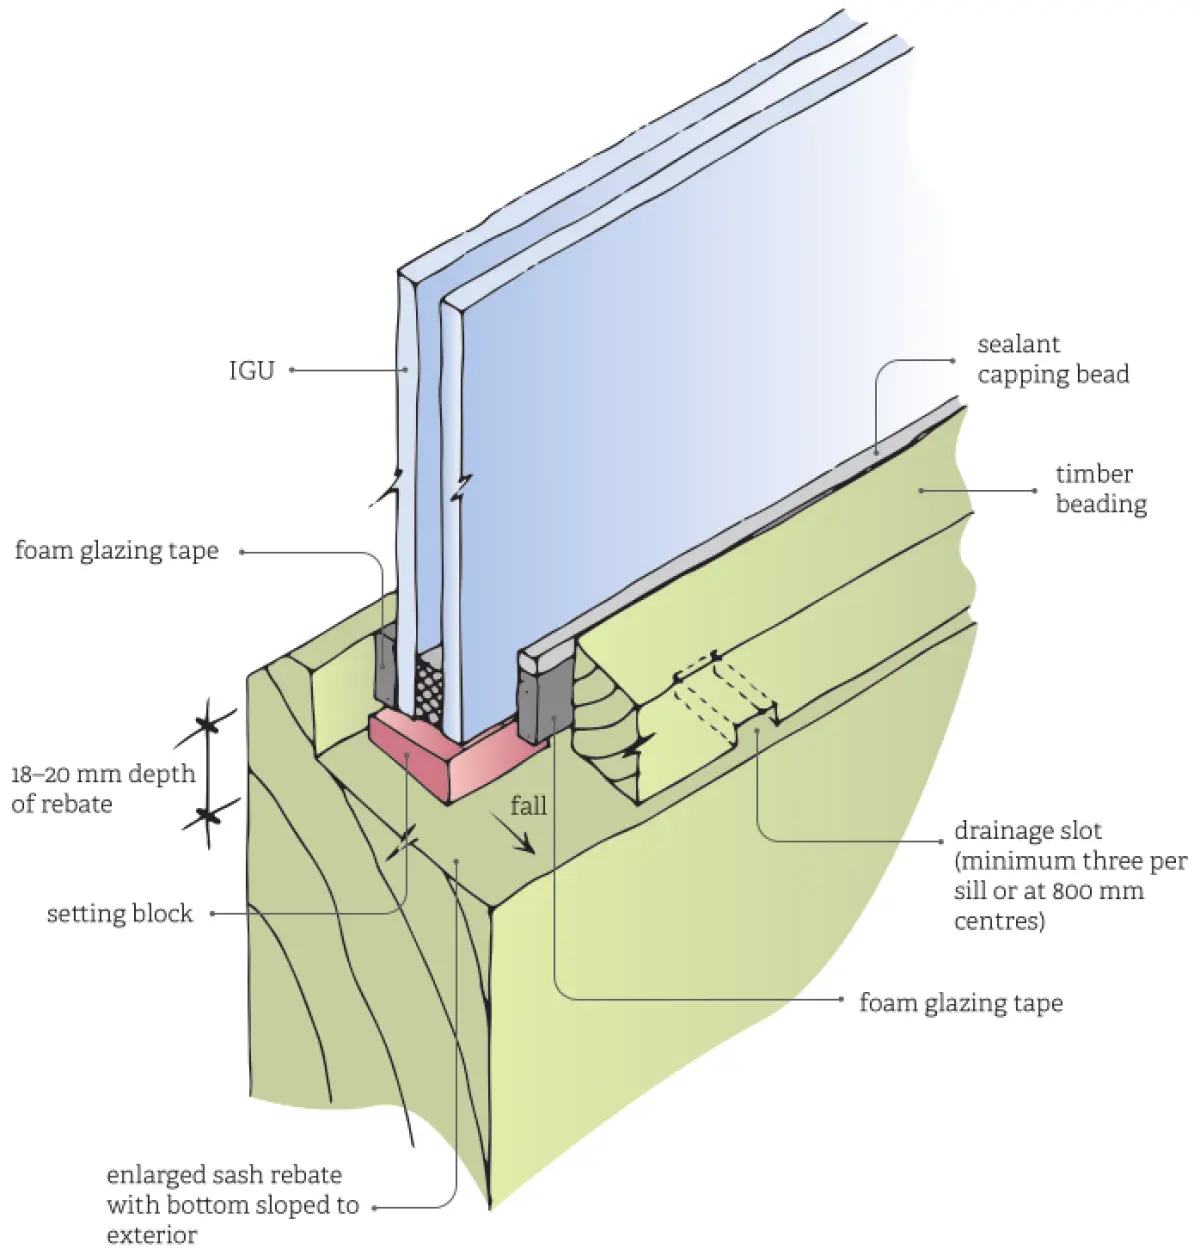
A major advantage of timber windows is that they can generally be modified to incorporate an IGU, thereby significantly improving the thermal performance of the window. By removing the glass and enlarging the rebates in the timber sash, an IGU can then be set into the rebate – see Figures 1 and 2.
Retrofitting IGUs into existing timber sashes requires specialist equipment and should be carried out by tradespeople trained in working with timber window joinery.
A retrofitted IGU is generally 16 mm thick, comprising two 4 mm thick panes of glass
with an 8 mm air gap between. If a window sash is sufficiently deep, the air gap may be increased.
The modified rebate must be formed with a slope to the exterior to ensure it stays dry, and the IGU must be supported on setting blocks.
Timber beading rather than putty is required to hold the IGU in the rebate as the putty may degrade the IGU seal. Timber beading also provides a more secure fixing for the additional weight imposed by the double glazing.
If a multi-paned appearance is to be retained in a window, IGUs can have colonial bars surface mounted over the glass
and internal divider bars fitted between the panes of glass.
Considerations when retrofitting IGUs
The condition of the sashes must be assessed before retrofitting IGUs. If there is evidence of rot or large gaps at the joints, the sashes should be replaced.
Doors often require more structural strength than windows, so opening door panels may need to be made with thicker timber to accommodate the appropriate IGUs
Double-hung windows often have quite narrow sashes, particularly mid rails, so
there may not be sufficient depth for a larger rebate to be cut. If this is the case, the sashes must be replaced.
Weight may be a limiting factor, particularly for hinged windows and their fixings. It is not an issue with double-hung windows as the weights that counter balance the window can be increased to accommodate the weight of the IGU, but double-hung windows may sometimes need to have larger mouldings installed.
Split-rail awning windows are not generally able to be fitted with IGUs because the sash rails are too thin, in which case the only option is to replace the sashes.