


Separate waste based on construction phases
Different waste types occur at different stages of the building project, meaning that you won’t need to have all the waste containers on site for the entire duration.
It’s recommended to separate your waste based on the different stages of construction:
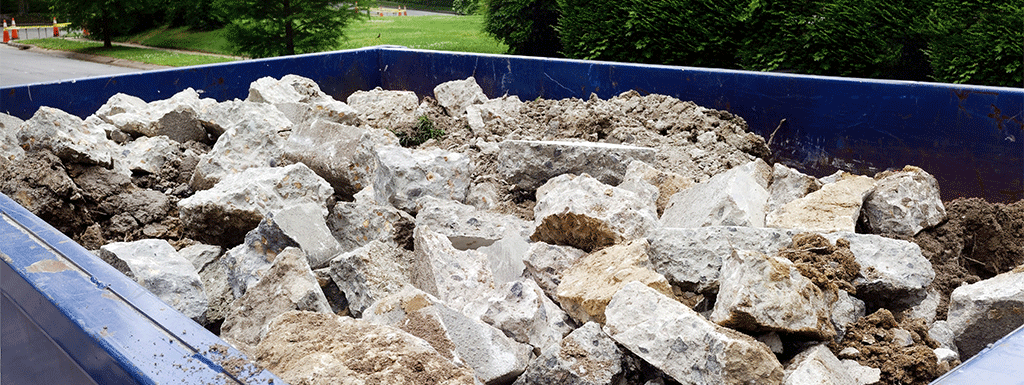
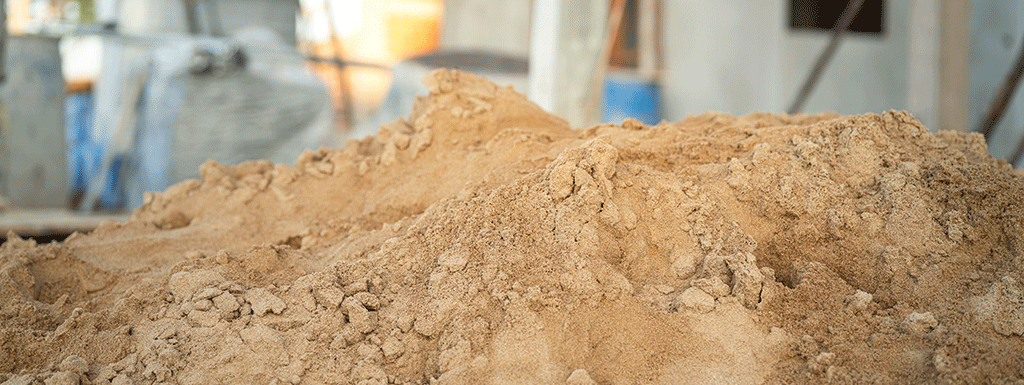
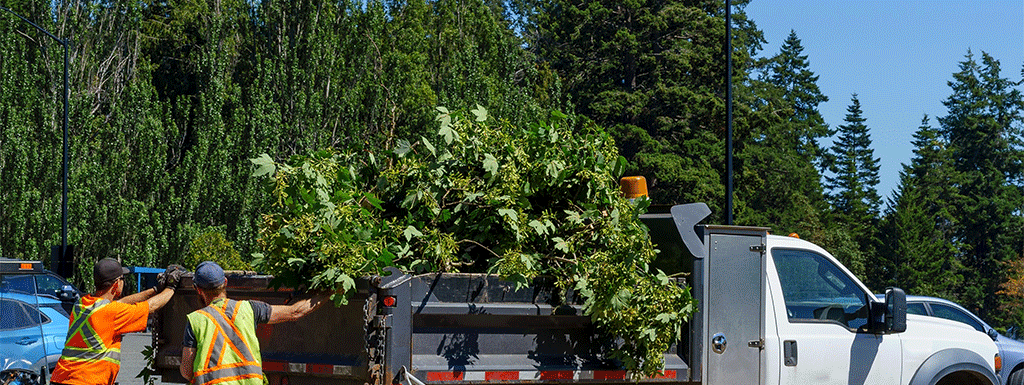
- Foundations and earthworks - timber, concrete, soil, vegetation
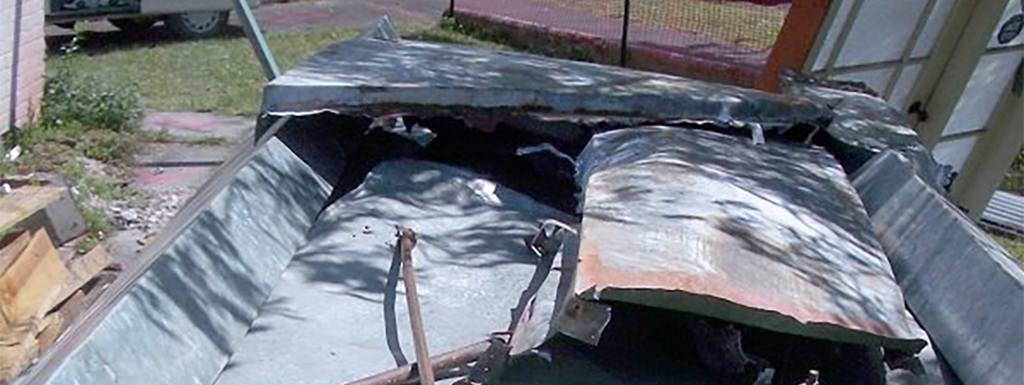
- Framing - metal, timber, concrete
- Cladding - metal, brick, concrete, timber, fibre-cement, plastics
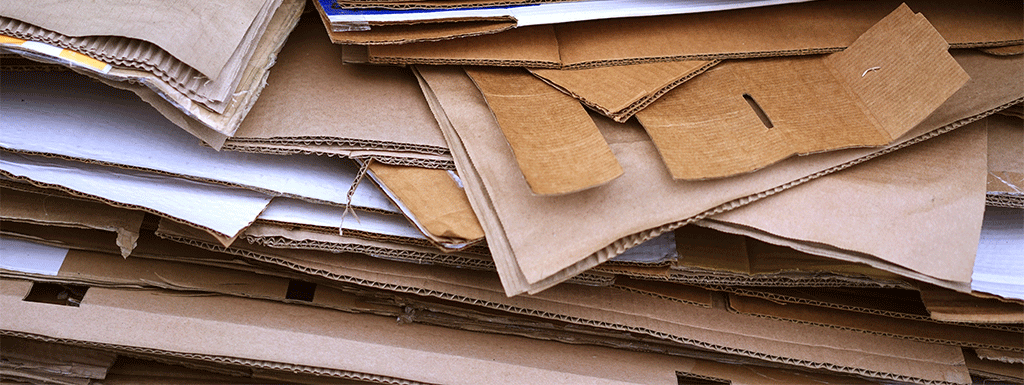
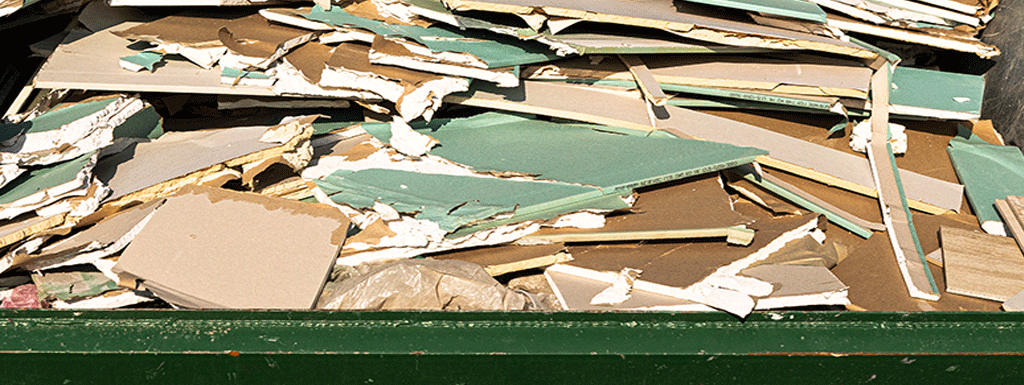
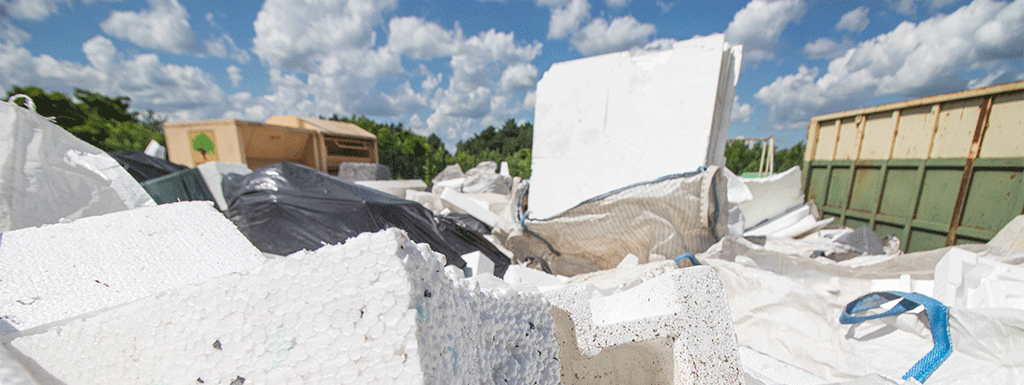
- Insulation, HVAC, wall linings, electrical, plumbing - plasterboard, insulation, metal, plastic, polystyrene, cardboard, tile, sweepings
- Fit-out - cardboard, timber, plastic, polystyrene, metal, tiles, hazardous materials, sweepings
Set up one designated waste storage area
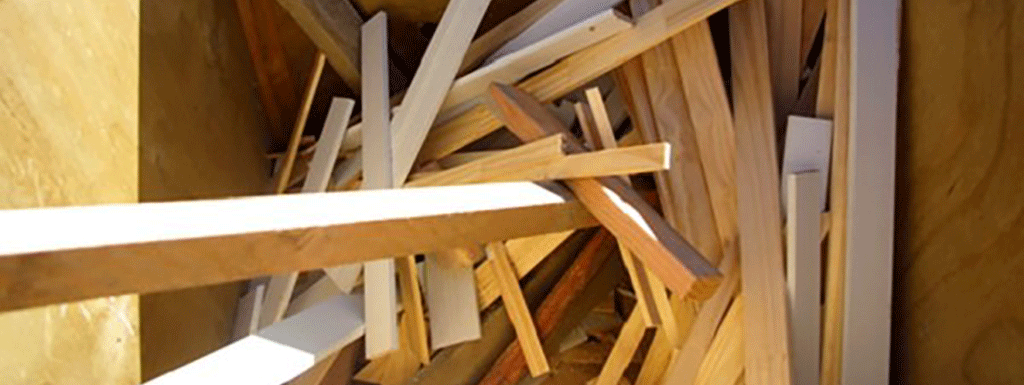
Typically, contractors and staff tend to use the most convenient skip or bin, regardless of whether it is for recycling or disposal. Having multiple smaller bins at a site may lead to people using the closest one and mixing up different types of waste, which can make recycling more challenging. By having just one waste storage area, we can avoid this issue and maintain a more organised and tidier site.
Keep different waste streams separate
- each waste type needs a separate bin, skip or pile at the designated waste storage area
- think about how the materials will be transported to the recycling operator or client and store them accordingly (For example, stockpiling materials may be best if using front-end loaders and trucks, while storing in skips is suitable if skips will be used). Trailers can also be useful for moving materials around sites, especially if there is no crane available
- make sure to arrange with different firms for the proper removal of waste and recyclables from the site. Incorrect sorting on site may result in penalties, so it’s important to train your staff and contractors well
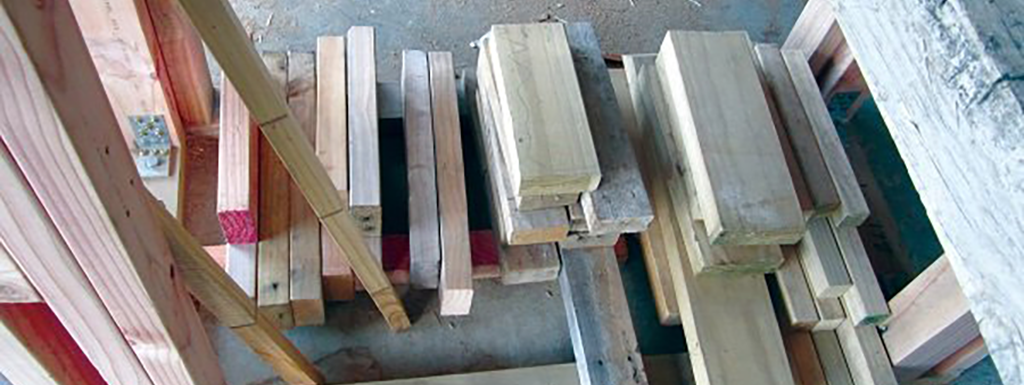
Use appropriate containers/methods for each material type
To avoid contamination of different waste streams, it is important to use the appropriate methods of storage for different types of materials.
See below for the recommended ways of storing your materials on-site.
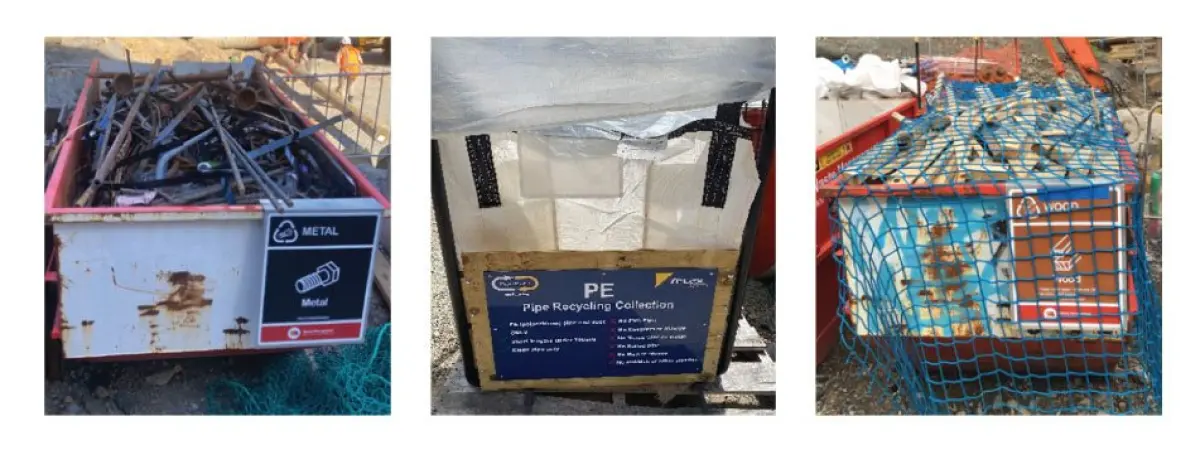
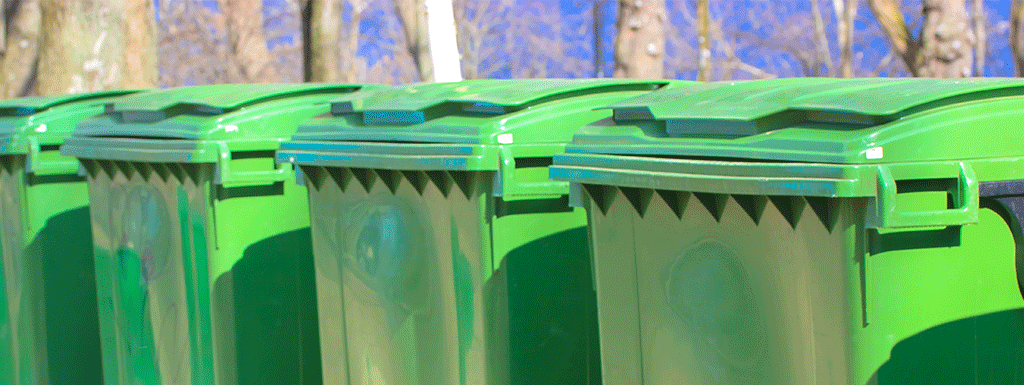
Label your containers clearly
- use clear signage for all storage areas and containers to avoid cross-contamination (for example, getting plastics dirty, spilling paint or adhesives onto timber, or mixing different qualities of plasterboard or timber)
- use the RONZ recycling symbols or some other type of clear signage on containers.
- signage should include the type and grade of material and any instructions for product protection, for example, “Keep dry”
- include a list of unacceptable materials where relevant. Be specific, for example, “No soil or plant matter“, “No screws and nails“, “No concrete or plastic“, “No treated timber“
- signs should be easy to take on and off bins - magnetic signs or signs with hooks work well, and whiteboard signs allow you to change the signage depending on the waste types
Protect stored materials
- check with your waste contractor or recycling operator for storage requirements
- store materials to avoid cross-contamination and damage and to allow easy movement around the site
- store easily damaged materials indoors or under cover to protect from weather where possible. Otherwise, cover with canvas, plastic or other material to protect from sun and rain
- lock recycling bins at night and weekends to prevent rubbish dumping and contamination
- have a staff member or contractor check the waste storage area periodically (perhaps at the end of each day or during site clean-ups) and sort any contamination