

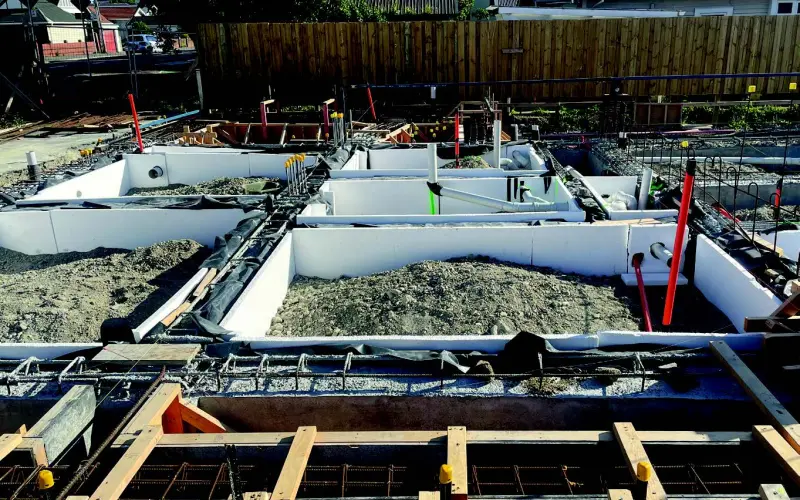


Photos can save your bacon. You can use them to help prove that pipes, wiring, insulation, flashings and other elements that are now completely or partly covered up were installed properly. You can show that materials delivered to site were damaged when they arrived or were not as ordered. You can compare the photos of the materials with invoices for them.
If you are not completely ready when a council site inspection occurs, some councils will allow you to take photos of what needs to be completed and will check on the next visit.
Mobile phones were a game changer when they arrived on building sites, and now the quality of images they take has vastly improved. As architect Bruce Sedcole points out, ‘You can zero in and count the number of nails in a framing junction. I don’t know how we worked without them!’
He says that new-generation mobile phones are helpful in analysing existing buildings before renovation work. ‘Under otherwise inaccessible houses or in awkward or tight ceiling voids, a mobile phone at arm’s reach can help to establish all sorts of construction work that the designer and builder may have to deal with.’
Photos can also be useful in the business side of construction – for example, by providing a good record of construction progress on a particular date, which may be useful when certifying progress payments.
They can also be handy for others besides the main contractor. For example, when householders or subsequent contractors or subcontractors have access to photos, they can help prevent piercing or nicking any of the in-wall services when adding new fixings for wall-mounted accessories such as grab rails or towel rails.
How to make photos as useful as possible:
- Take them from different angles and from close up and further away.
- Where possible, include a tape measure or an object of a standard size such as a soft drink bottle to give an indication of size/scale.
- Take wider shots to show the location/context of close-up photos and take shots of the house or letterbox to identify the building.
- Use a smartphone or camera that includes a time stamp/date stamp and GPS location with the image.
- Check that the smartphone or digital camera is set to record higher resolution images – at least 3 megapixels. You can usually do this on a smartphone by going to Settings > Camera.
- Check that the photos are in sharp focus and not blurry. You may need to hold the camera/smartphone against a door jamb or similar to help keep it still.
- Make sure the images are saved and cannot be mistakenly deleted.
A new house build will usually involve hundreds of photos taken at each stage of the project and on completion. Key locations and times for photos include:
- the original site and site conditions
- siteworks, including retaining wall footings before backfilling, all subsoil drainage and membranes and underground services
- for concrete slab floors, all foundation steelwork – measure the depth of footings, pipes, embedded heating, insulation, damp-proof membranes and so on before the concrete is poured
- for suspended floors, all subfloor connections to piles, joists and bearers
- materials delivered to site, including brands and labels, materials that may be damaged or not exactly as ordered
- all framing and trusses as erected and connections to walls, top plates and roofing
- roof underlay and roofing installation, preparation and construction of penetrations such as chimneys/flues/skylights and flashings for penetrations
- all wall framing panels/elevations/timber treatment tags and brands, noting their locations, before the cladding is installed
- junctions between floors and so on before being covered by cladding/lining
- the thermal insulation in place before it is closed in
- the installation of all elements that play a key role in weathertightness, including flashings, flashing tape and so on
- window and door installations and processes showing all flashings and how penetrations were prepared
- the cladding installation process, including fixings used
- the construction of wet areas, including preparation for and installation of membranes, undertile heating and tiling
- drainage from wet areas after it has been installed and before it is covered in
- framed walls before internal linings are installed showing the dwangs, water pipes (hot, cold, wastewater), electric cables, conduits and so on
- all interior linings after installation and before they are plastered/painted
- when there are changes from the original plans or specifications or amendments to the contract
- where there are any new or unique or unusual design or construction practices
- where there were any problems encountered during construction, including break-ins, vandalism, damage from extreme weather events, the site of any serious accident or injury and so on
- a complete set of photos of the building on completion.
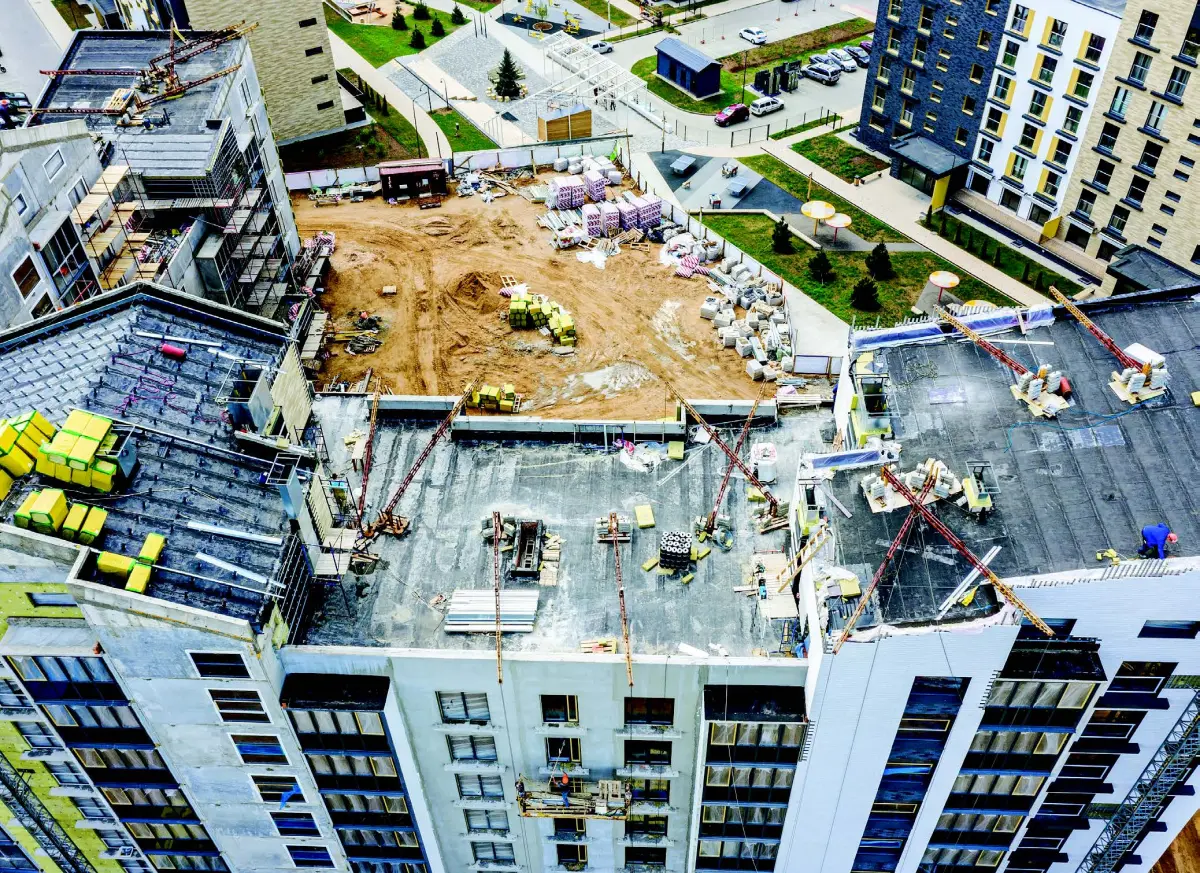
Drones can be used to take photos from the air. While they can provide another angle for recording construction progress and completion, they have some unique possibilities.
For example, a drone can be used to view building maintenance requirements where access is limited. To comply with aviation laws, drones in Aotearoa New Zealand should not fly above 120 m (www.aviation.govt.nz/drones/regulations/part-101-rules-for-drones/).
Disasters
Photos also play a key role recording the damage to buildings from natural disasters such as floods or earthquakes or long-term degradation from weathertightness problems for example. Take photos to record the extent of the problem before any repair or remediation is done. Beyond that, the basic advice is the same as that outlined in the bullet points in this article.
Toka Tū Ake EQC has a short fact sheet with guidelines for taking photos to support EQCover claims – see www.naturalhazards.govt.nz/insurance-and-claims/claims/take-photos-to-support-your-claim/.
Photos in the lab
BRANZ has a long record of recommending photos be taken during construction. Photos also form a critical part of the lab work that BRANZ does, both for clients and for our own research projects. For example, when assessing the performance of insulation in a wall or ceiling, thermal imaging cameras are used to show whether there are any gaps where heat may be escaping.
Photos can record the leakage paths for weathertightness checks. For durability testing, photos record varying levels of corrosion and form a key part of the evidence when our research contributes to updating standards or the Building Code.
Compliance in a snap
Photos are also key to how BRANZ’s innovative smartphone App Artisan (branzartisan.nz) boosts the efficiency of building inspections for tradespeople and building consent authorities (BCAs).
The app allows tradespeople to take photos on their smartphones of key compliance elements of a building project for remote verification by the BCA. The inspectors can view the images in real time and approve the work or recommend changes without leaving their desk.
The photos taken using Artisan also create an accurate and enduring inspection record for new builds and renovations.